
Care guide
Bromeliad Care
Learn how to keep tropical bromeliads healthy and colorful.
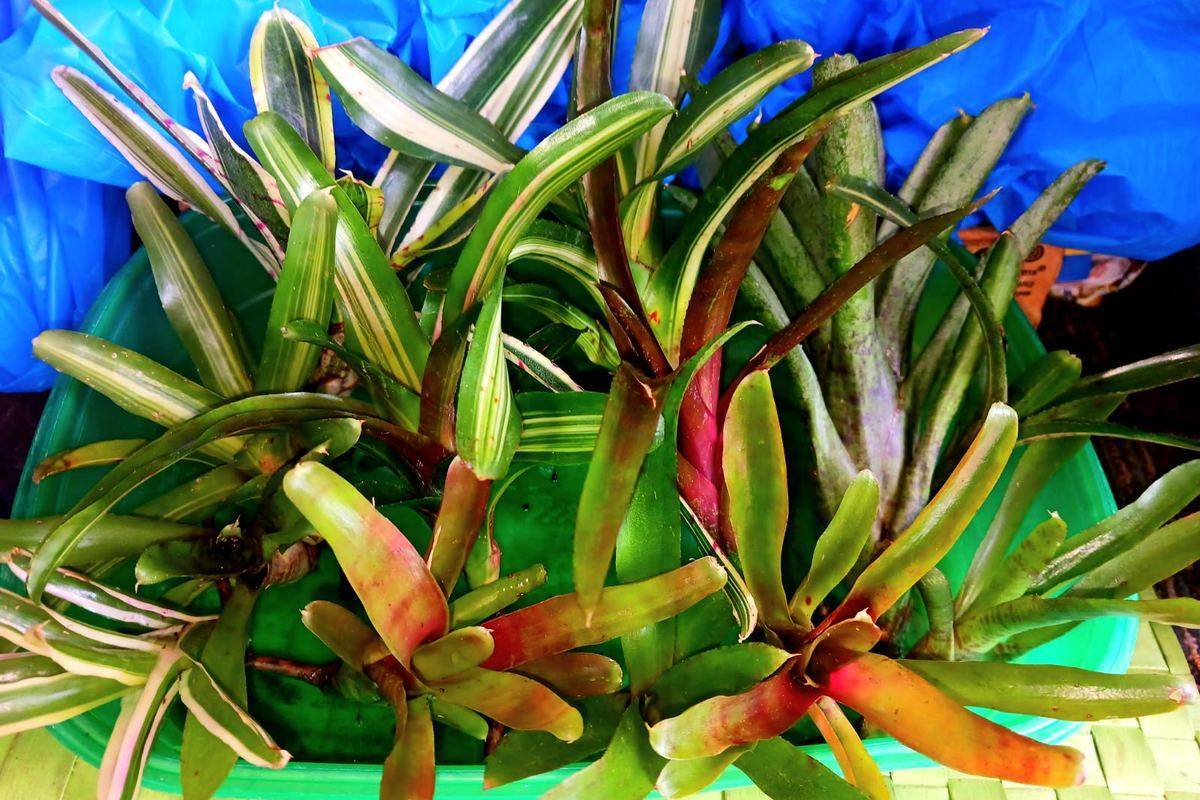
Many bromeliads form a watertight cup at the centre of their leaves, and that cup — not the pot — is where most of their water goes.
They are also monocarpic: a plant flowers once, then gradually declines while producing offsets, called pups, around its base. That is the plant working as designed, not a failure of care.
Watering the cup
Keep the central cup topped up with clean water, and flush it out every week or two so it doesn't stagnate. The potting mix around the roots should stay lightly moist but never soggy — bromeliad roots are mostly there to hold the plant steady.
Rainwater or filtered water is kinder than hard tap water, which can leave mineral marks on the leaves.
Light and colour
Bright, indirect light brings out the strongest leaf colour. Too little light and a colourful variety fades toward plain green; harsh direct sun can scorch the leaves. If a plant looks washed out and stretched, move it brighter in stages rather than all at once.
Potting and feeding
Use an open, fast-draining mix — orchid bark blends work well. Bromeliads are light feeders: a dilute fertiliser occasionally during the growing season is plenty, and it is better applied to the potting mix than poured into the cup at full strength.
Flowering and pups
Once a bromeliad blooms, the flower can hold colour for weeks or months. Afterwards the parent plant slowly declines and sends up pups. Leave each pup attached until it is roughly a third to a half the size of the parent, then separate it with a clean cut and pot it up. That is how a single plant becomes a long-running collection.
Common mistakes
- Keeping the potting mix wet as if it were an ordinary houseplant.
- Letting the central cup go stale for months without a flush.
- Assuming a fading parent plant after flowering means something went wrong.
- Removing pups far too early, before they can support themselves.
- Growing colourful varieties in low light and wondering where the colour went.